Reviewing Your Inbox
Log back in as Tom Waters. You probably already noticed that when you access the Xurrent service, you are automatically taken to the Inbox console and the “My Inbox” view is presented. The “My Inbox” view lists all open requests, problems and tasks that are assigned to you.
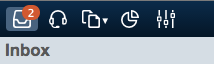
When a request, problem or task with the status “Assigned” is listed in your “My Inbox” view, it is displayed with a blue dot next to it to draw your attention to this new assignment. As soon as the status of this new assignment has changed (e.g. because you accepted it), it is no longer considered ‘new’ and it will no longer have a blue dot next to it. When there is at least one new assignment, the number of new assignments in your inbox is displayed in a red badge over the Inbox console icon.
Questions:
How many requests do you see in your inbox?
A big icon in front of each assignment tells you what type of assignment (i.e. request, problem or task) it is. When you place your mouse cursor over one of these icons, the name of the assignment type will appear.
Knowing this, you will find 3 requests in your inbox.
How many problems do you see in your inbox?
There is 1 problem in your inbox.
How many tasks do you see in your inbox?
There are 2 tasks in your inbox.
How many of these assignments are ‘new’?
There are 4 new assignments in your inbox.
These are request #704570, request #704660, workflow task #32066 and project task #24535.
Can you filter your inbox to get only task assignments?
The second button from the right in the top bar on the left pane is the filter button. Add the filter Type and select type ‘Task’.
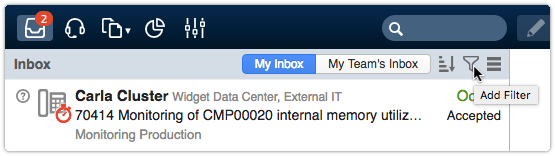
Once a filter is applied it is displayed in the top bar of the left pane. Click on the ‘x’ sign at the right side of the filter to remove the filter.
You can save the filtered view you have created in the previous exercise as a Personal View. When you have applied a filter on the inbox click on the 3 vertical dots in the header bar of the left pane. It contains the action 'Save as Personal View ...'. Once you have created a personal view the Inbox label at the left side of the header bar turns into a drop-down select box with all your personal views.
You can switch the inbox view with multiple lines to a table layout or grid view. Click on the 'hamburger button' (button with 3 horizontal lines) to the left of the 3 vertical dots (action menu) in the header bar of the left pane.
The following video provides an overview of the exercise: